
They are called – payment. This masterpiece of culinary art leaves no one indifferent.

Называются они – оплатки. Этот шедевр кулинарного искусства не оставляет равнодушным никого. Первое упоминание об оплатках датируется 1788 годом Изготавливали их тогда исключительно в домашних условиях. И только в середине 19 века производство вафель обретает фабричный размах. Одной из самых знаменитых производителей этих вкусностей делается фирма «Карл Байер». Свой оригинальный кулинарный шедевр она поставляла даже […]
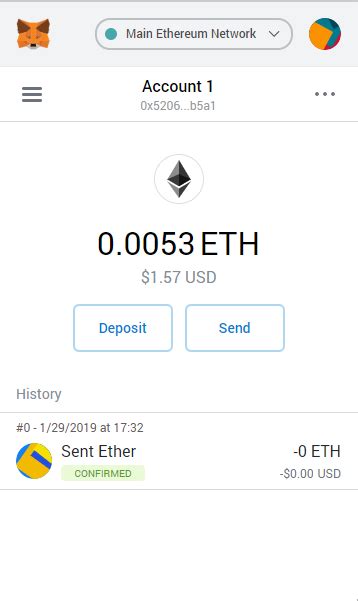
Metamask: Paid Functions Metamaske
Being a creator, communicating with intellectual contracts requires not only writing the code; It also requires you to manage your funds. One of the main libraries to communicate with Ethereum Smart contracts on the Internet is Metamask. In this article, we will investigate how to use the Metamask features payable.
What are the functions paid?
Paid functions, also known as call functions, allow for actions regarding the contract without transferring funds from your wallet. They are particularly useful in managing intellectual contracts that require user input or specific actions such as creating new wallet or sending operations.
Metamask use with the functions payable
To use the Metamk features payable, follow the following steps:
1. Create a Web3 provider
Before you start communicating with the contract using the functions payable, you must determine the Metamask Web3 provider. You can do this by performing the MetamKK documentation page or by creating your custom Web3 provider.
2. Install the Ethers.js Library
You will also need to implement the Ethers.js Library to use Metamask with the Metamask with the functions payable, providing a simple and intuitive API communication with Ethereum Smart Contracts.
Here is an example of how to install Ethers.js in your project:
`Bash
NPM installation ether
`
3. Create a contract for a payment
Create a new contract defining the function due. In this example, we will create a contract called MyContract, which allows consumers to send ether to the contract.
Here are some of the sample code of the contract:
`Javascript
CONST MyContract = {
Functions: {{{
Transmission Founds: {
Input: [
{
Name: “From”,
Type: “Address”,
necessary: True,
},
{
Name: ‘to’
Type: “Address”,
necessary: True,
},
{
Name: “Value”,
Type: Uint256,
necessary: True,
},
]
},
},
};
`
In this example, the Funds feature takes three arguments:
value ': the amount of ether passed4. Use the Metamask with the contract
You will need to create a new copy of the contract and transfer it to the Web3 provider to use the Metamask.
Here is the code fragment:
Javascript
Import {Web3} from ‘Web3’;
Const Web3 = New Web3 ();
CONST Contract = New MyContract ();
Web3.eth.accouns.Sendtransaction ({{{{{{{{{{{{{{{{{{{{{{{{{{{{{{{{
From: Web3.theaccouns [0], // Your Ethereum account address
to: Contract.address, // Contract address
Value: web3.utils.towei (‘1’, ‘ether’), // The amount of ether sent
}, (error, operationhash) => {
If (error) {
console.error (error);
} ELSE {
Console.log (Successful operation: $ {transactionhash});
}
});
`
Example Use case
Here’s an example of a case of use showing how to use the Metamask features payable:
Suppose you have a contract called MyContract, which allows consumers to send ether to the contract. You create a new copy of the contract and pass it on to the Web3 provider:
`Javascript
Import {Web3} from ‘Web3’;
Const Web3 = New Web3 ();
CONST Contract = New MyContract ();
// Create a new operation
Contract.transferfunds ({{{{{
From: Web3.theaccouns [0], // Your Ethereum account address
to: Web3.etaddresses [1], // Other User Address Blockchain
Value: web3.utils.towei (‘1’, ‘ether’), // The amount of ether sent
}, (error, operationhash) => {
If (error) {
console.error (error);
} ELSE {
console.